A creative way to spend free time is practicing embroidery. Embroidery is a versatile hobby that has been around for centuries. It has been used to make patches that make a statement and decorating various items.
Patches are a creative way to transform old garments into spicier items. It is the responsibility of the current generation to pass the art of embroidery to future generations. Machines are slowly replacing art that was being done by hand to increase efficiency. Here is a guide on making patches using a machine.
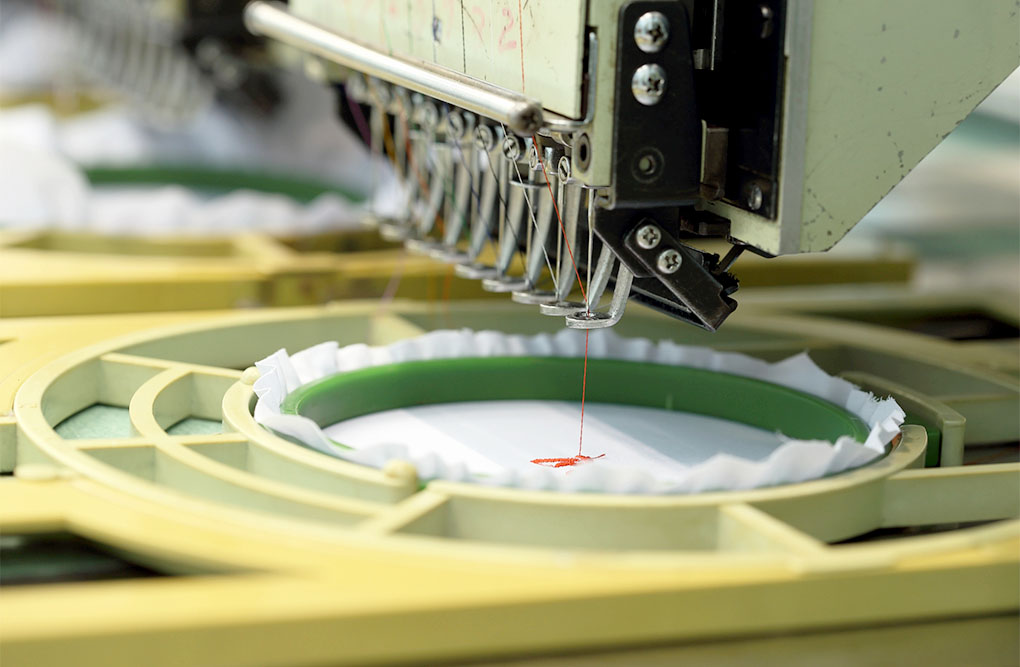
Tips And Tricks For Machine Embroidered Patches
Designing
Digital embroidery starts by creating or finding a design. Images meant to be loaded into an embroidery machine for digitalization should be of high quality. The better the image quality is, the better the end product will be. Never settle for any design less than the best.
Image Digitalization
It entails converting an image from a PNG or JPEG file into programs compatible with the embroidery machine. Free file conversion software programs are readily available on the internet, however, professional digitizing will produce higher quality outputs. Image digitization can help estimate how long it will take to embroider a garment and the number of required stitches. As earlier mentioned, digitizing the design will make the project more efficient.
Thread Selection
For a successful project, pick the right thread. Check the fabric and size compatibility and select the colors that will go into the final design. Accuracy is key here, and try to match the color codes with the ones on your software program. Ensure the embroidery machine has all the equipment needed throughout the embroidering process. It should have the right needle, proper sizing, and the right setup for error-free patches.
Pick the Right Backing & Fabric
The nature of the materials used can determine the success of a project. No rocket science is involved in determining the suitable backing for an embroidery project. The stabilizer could be a tearaway or cutaway, but it should support your fabric of choice. Make sure you can remove the excess fabric after fitting it onto the base. Finding the right backing for a project shouldn’t be stressful. Pick any base that matches the fabric and thread you are using.
Similarly, choosing the right fabric is just as important. There are many to chose from knitted such as jersey and terry cloth, woven such as tough denim and fine chiffon, and non-woven such as felt.
Get a Stabilizer
The needle of a machine used for both sewing and embroidering should be suitable for making patches. Hooping two layers of water-soluble, heavier, and thicker stabilizer will make the entire project easier and manageable. Setting the hoop on the embroidering machine can make it easier to select the overall project design. It is easier to outline the die-line and determine where to sew the patch if you choose to use the embroidering machine.
Ironing
Denim can make great machine-embroidered patches, but it first has to be ironed. Denim is flexible and light, and its sturdiness can endure the strain that the needle puts on the fabric. Next, place the ironed denim on the stabilizer and make sure it covers the die-line. Leave some space to cover the edges. Stick the stabilizer’s fabric carefully to avoid making any wrinkles that may make the surface feel rough.
Finish It Up
After stitching is over, nothing is left but trimming the excess fabric using a pair of scissors. Do it gently to avoid damaging the threads because damaged threads can ruin the design. Dissolving the stabilizer in water will be a wise idea instead of cutting it with a pair of scissors.
A lot can be done using an embroidery machine. However, you may need digitizing services for compatibility with more designs. Never worry about finding a design idea because patterns and logos are readily available online. Some are available for free, meaning you can get a collection of logos and patterns at no cost. Practicing embroidering with different materials can increase your chances of success.